By Catharine Proctor January 29, 2025
In today’s digital age, credit card terminals have become an essential tool for businesses of all sizes. These devices allow merchants to accept payments from customers using credit or debit cards, providing convenience and security for both parties involved. However, setting up a credit card terminal can be a daunting task, especially for those who are new to the world of electronic payments.
In this comprehensive guide, we will walk you through the process of setting up a credit card terminal, from understanding the different types available to troubleshooting common issues that may arise.
Understanding the Different Types of Credit Card Terminals

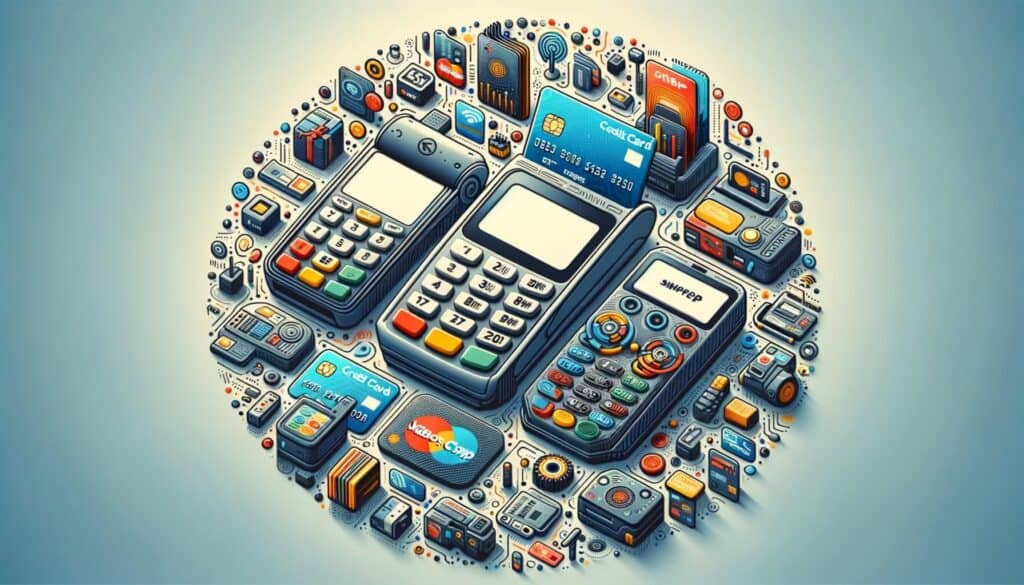
Before diving into the setup process, it is important to understand the different types of credit card terminals available in the market. There are three main types: traditional countertop terminals, mobile terminals, and virtual terminals.
1. Traditional Countertop Terminals: These are the most common type of credit card terminals and are typically found in brick-and-mortar stores. They are connected to a phone line or internet connection and allow customers to swipe or insert their cards for payment. These terminals often come with a built-in receipt printer and a keypad for entering transaction details.
2. Mobile Terminals: As the name suggests, mobile terminals are designed for businesses on the go. They are portable devices that connect to a smartphone or tablet via Bluetooth or a mobile data connection. Mobile terminals are ideal for businesses that operate outside of a traditional retail environment, such as food trucks or pop-up shops.
3. Virtual Terminals: Virtual terminals are software-based solutions that allow businesses to accept credit card payments through a computer or mobile device. They are typically used for online or phone-based transactions, where the customer’s card information is manually entered into the system. Virtual terminals are a convenient option for businesses that primarily operate online or over the phone.
Choosing the Right Credit Card Terminal for Your Business

Now that you have a basic understanding of the different types of credit card terminals, it’s time to choose the right one for your business. Here are some factors to consider when making your decision:
1. Business Type and Size: Consider the nature of your business and the volume of transactions you expect to process. If you have a small retail store, a traditional countertop terminal may be sufficient. However, if you operate a mobile business or primarily sell online, a mobile or virtual terminal may be a better fit.
2. Connectivity Options: Evaluate the available connectivity options in your area. Traditional countertop terminals require a phone line or internet connection, while mobile terminals rely on Bluetooth or mobile data. Ensure that your chosen terminal can be easily connected to the appropriate network.
3. Payment Processor Compatibility: Check if the credit card terminal you are considering is compatible with your preferred payment processor. Some terminals are designed to work with specific processors, so it’s important to ensure compatibility to avoid any integration issues.
4. Security Features: Look for credit card terminals that offer robust security features, such as encryption and tokenization. These features help protect sensitive customer data and reduce the risk of fraud.
Setting Up a Credit Card Terminal: Step-by-Step Guide
Now that you have chosen the right credit card terminal for your business, it’s time to set it up. Follow these step-by-step instructions to ensure a smooth setup process:
Step 1: Unbox and Inspect the Terminal
Start by unboxing your credit card terminal and inspecting it for any physical damage. Ensure that all the necessary components, such as the power cord, cables, and user manual, are included.
Step 2: Connect the Terminal to Power
Plug in the power cord of your credit card terminal into a power outlet. If your terminal has a built-in battery, make sure to charge it fully before proceeding.
Step 3: Connect the Terminal to the Network
If you are using a traditional countertop terminal, connect it to a phone line or internet connection using the provided cables. For mobile terminals, follow the manufacturer’s instructions to pair it with your smartphone or tablet. Virtual terminals can be accessed through a computer or mobile device with an internet connection.
Step 4: Configure Basic Settings
Once your terminal is connected to the network, you will need to configure some basic settings. This may include setting the date and time, language preferences, and receipt options. Refer to the user manual for specific instructions on how to access and modify these settings.
Step 5: Test the Terminal
Before accepting actual payments, it is crucial to test your credit card terminal to ensure that it is functioning correctly. Most terminals have a test mode or a demo mode that allows you to simulate transactions without processing real payments. Follow the instructions provided by the manufacturer to perform a test transaction and verify that all features are working as expected.
Connecting Your Credit Card Terminal to Payment Processors

Once your credit card terminal is set up and functioning properly, the next step is to connect it to a payment processor. A payment processor acts as the intermediary between your business and the customer’s bank, facilitating the authorization and settlement of credit card transactions. Here’s how to connect your terminal to a payment processor:
Step 1: Choose a Payment Processor
Research and select a payment processor that meets your business needs. Consider factors such as transaction fees, customer support, and integration options. Popular payment processors include PayPal, Stripe, Square, and Authorize.Net.
Step 2: Create an Account
Sign up for an account with your chosen payment processor. This typically involves providing your business information, bank account details, and agreeing to the terms and conditions.
Step 3: Configure Payment Settings
Once your account is set up, you will need to configure the payment settings on your credit card terminal to communicate with the payment processor. This may involve entering your account credentials, API keys, or other authentication details. Refer to the user manual or contact the payment processor’s support team for specific instructions.
Step 4: Perform a Test Transaction
To ensure that your credit card terminal is properly connected to the payment processor, perform a test transaction. This will help you verify that the authorization and settlement processes are functioning correctly. Follow the instructions provided by the payment processor to initiate a test transaction.
Configuring Payment Settings and Security Features

Configuring the payment settings and security features on your credit card terminal is crucial to ensure a smooth and secure payment process. Here are some key settings and features to consider:
1. Payment Types: Determine which payment types you want to accept, such as credit cards, debit cards, or contactless payments. Configure your terminal to accept the desired payment types and set any restrictions or limits if necessary.
2. Currency and Pricing: Set the default currency for your transactions and configure the pricing options. This may include tax calculations, discounts, or surcharges. Ensure that your terminal is programmed to accurately calculate and display the total amount due.
3. Receipt Options: Decide whether you want to offer printed or electronic receipts to your customers. If your terminal has a built-in receipt printer, configure the receipt settings accordingly. For virtual terminals, you can choose to send receipts via email or provide customers with a digital copy.
4. Security Features: Enable any security features available on your credit card terminal to protect sensitive customer data. This may include encryption, tokenization, or address verification services. Consult the user manual or contact the manufacturer for guidance on configuring these features.
Troubleshooting Common Issues with Credit Card Terminals
Despite careful setup and configuration, credit card terminals may encounter issues from time to time. Here are some common problems you may encounter and how to troubleshoot them:
1. Connection Issues: If your credit card terminal is not connecting to the network, check the cables and connections to ensure they are secure. Restart the terminal and verify that the network settings are correct. If the issue persists, contact your internet service provider or the terminal manufacturer for further assistance.
2. Card Reading Errors: If your terminal is having trouble reading cards, ensure that the card is inserted or swiped correctly. Clean the card reader with a soft cloth to remove any dirt or debris. If the problem persists, the card reader may need to be replaced or serviced.
3. Transaction Declines: If a transaction is declined, check the error message displayed on the terminal. Common reasons for declines include insufficient funds, expired cards, or incorrect PINs. Instruct the customer to resolve the issue with their bank or provide an alternative payment method.
4. Software Updates: Regularly check for software updates for your credit card terminal. Outdated software can lead to compatibility issues or security vulnerabilities. Follow the manufacturer’s instructions to download and install the latest updates.
Best Practices for Maintaining and Updating Your Credit Card Terminal
To ensure the smooth operation of your credit card terminal and protect against security threats, it is important to follow best practices for maintenance and updates. Here are some tips to keep your terminal in optimal condition:
1. Clean the Terminal Regularly: Dust and debris can accumulate on the terminal’s keypad, card reader, and display. Clean these components regularly using a soft cloth or a mild cleaning solution. Avoid using abrasive materials or harsh chemicals that may damage the terminal.
2. Secure the Terminal: Protect your credit card terminal from theft or unauthorized access by securing it to a countertop or using a lockable stand. Ensure that only authorized personnel have access to the terminal’s settings and administrative functions.
3. Monitor for Software Updates: Stay up to date with the latest software updates for your credit card terminal. These updates often include bug fixes, security patches, and new features. Set up automatic updates if available or regularly check the manufacturer’s website for updates.
4. Train Staff on Terminal Usage: Provide comprehensive training to your staff on how to use the credit card terminal correctly. This includes understanding the different features, troubleshooting common issues, and following security protocols. Regularly review and reinforce these training materials to ensure staff compliance.
Frequently Asked Questions about Credit Card Terminals
Q1: How long does it take to set up a credit card terminal?
A1: The setup time for a credit card terminal can vary depending on the complexity of the terminal and the availability of network connections. On average, it can take anywhere from a few minutes to a couple of hours to complete the setup process.
Q2: Can I use my existing payment processor with a new credit card terminal?
A2: In most cases, credit card terminals are compatible with a wide range of payment processors. However, it is important to check the compatibility of your chosen terminal with your existing payment processor before making a purchase.
Q3: What should I do if my credit card terminal is not working?
A3: If your credit card terminal is not working, start by checking the power and network connections. Restart the terminal and perform a test transaction. If the issue persists, consult the user manual or contact the manufacturer’s support team for further assistance.
Q4: Are credit card terminals secure?
A4: Credit card terminals are designed with security features to protect sensitive customer data. These features may include encryption, tokenization, and address verification. However, it is important to follow best practices for security, such as regularly updating the terminal’s software and training staff on security protocols.
Conclusion
Setting up a credit card terminal may seem like a daunting task, but with the right knowledge and guidance, it can be a smooth and straightforward process. By understanding the different types of credit card terminals, choosing the right one for your business, and following a step-by-step setup guide, you can start accepting credit card payments with ease.
Remember to connect your terminal to a compatible payment processor, configure payment settings and security features, and troubleshoot any issues that may arise. By following best practices for maintenance and updates, you can ensure the longevity and security of your credit card terminal, providing a seamless payment experience for your customers.